How to Setup Calix WiFi Router Port Forwarding?
In the modern era, almost every user has a strong desire to set up a Minecraft server, and access files, and desktop remotely. If you are also one of those users and willing to bring improvements in the internet connection speed, this blog post acts just like a candle in the dark. In such a scenario, Calix port forwarding sounds like a bargain.
Does the complete process of setting up Calix router port forwarding seem complicated to you? If so, you need not worry at all! Once you go through this blog post, you will be familiar with the key requirements & methods related to setting up the port forwarding. Apart from this, you will also be able to come to know about the factors responsible for Calix router port forwarding not working as well as key troubleshooting methods to resolve such potential issues forever.
What are you waiting for? Let’s come to the main point and jump on the sections following.
Necessities to Port Forward a Calix Router
Are you going to port forwarding on Calix router? Well, before proceeding to kick start the process, it is a must for you to ensure that you have the key essentials. It will definitely enable you to accomplish the port forwarding procedure successfully. Let’s have an eye on the basic requirements that will allow you to Calix port forwarding-

Stable Internet Connection

Calix Wi-Fi Router

Correct Web & IP Address

Calix WiFi App

Ethernet Cable

Login Credentials
Calix Router Port Forwarding Setup
There are two methods that enable you to Calix Gigaspire port forwarding. To help you out in performing the whole process of setting up the port forward of your Calix router, we have outlined both of the methods available. Let’s have an overview of the steps involved in Calix router port forwarding methods.
1. Port Forward Through Web Interface:
- To begin the process you have to ensure that your router is turned on.
- In the next step, connect your laptop or PC to the mesh network.
- Now, it is time to launch a web browser.
- After that, enter your Calix router’s IP address 192.168.1.1.
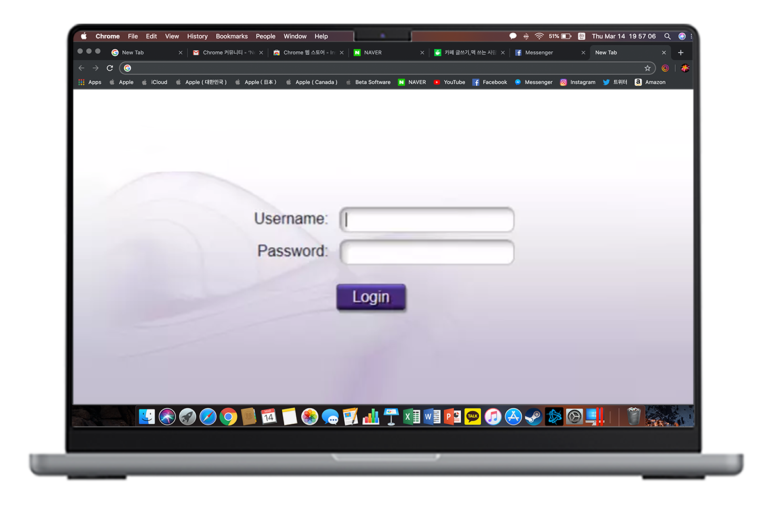
- Thereafter, you will surely be prompted to log in.
- In this step, enter the correct admin credentials.
- Now, tap on “Login.”
- Your router’s smart Home dashboard will be visible to you on the screen
- Next, you have to set a Static IP address for your Calix router.
- Thus, choose DHCP Reservations and give your router a static IP address.
- In this step, you have to select the “Advanced” or “Network” option as per your Calix router that you own.
- Now, type the first static IP address that you were given.
- Furthermore, click on Port Forwarding on your Calix router.
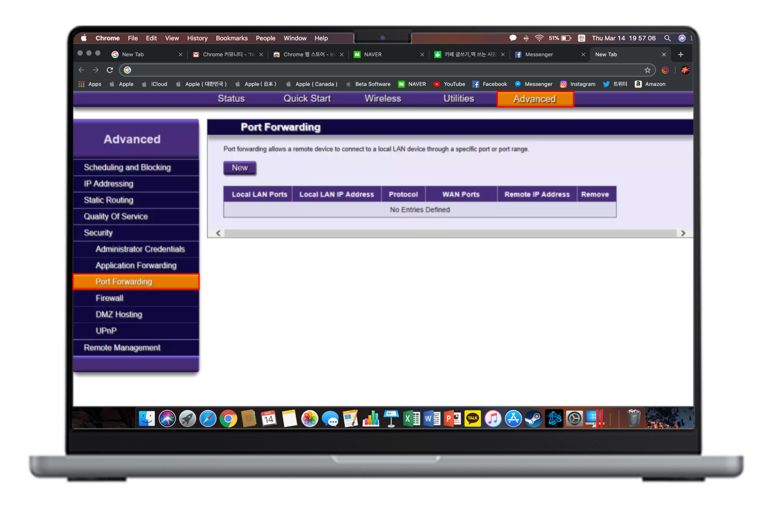
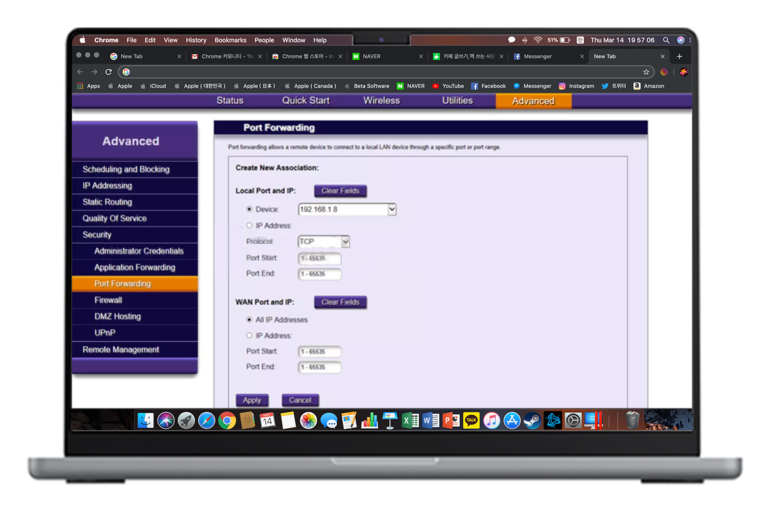
- Hit on TCP / UDP and click on “Add New” or “Add” to add a new rule.
- In the next step, enter a meaningful name for the port forward rule.
- Enter “0.0.0.0” as a default IP address in the “External IP addresses” area.
- Select the “Enable” checkbox on your Calix gateway.
- If you have completed the port forwarding on the Calix router process, tap on Save.
- Last but not least, you have to ensure that your router port forwarding is configured or not.
2. Calix Router Port Forwarding Using the App:
- In the first step, download the “CommandIQ” app on your smartphone from the Google Play Store or from the Apple App Store.
- After that, enter the correct Calix login credentials including- username & password to log in to the app.
- Now, click on More option> Advanced>NAT Forwarding>Port Forwarding.
- To add a new rule, tap on the “+” icon that is located in the top right corner.
- In this step, you have to choose “Add New Port Forwarding Rule” or a comparable option.
- Next, if you want to add a port forwarding rule you have to enter the External Port and the Internal Port (Service Port).
- After doing so, hit on “Save.”
- Enter the local IP address of your device.
- In the last step, tap on “Save” or “Apply” to save your settings.
Why is Calix Router Port Forwarding Not Working?
Is your Calix port forwarding not working? If so, there can be various factors accountable for this issue. Genuinely curious to be familiar with the potential reasons for this issue? You have to keep your eye on the key points mentioned below-
- Poor internet connection
- Software bugs
- Outdated router firmware
- Incorrect IP address
- Obstructions due to Firewall or VPN
- The wrong port number of the server
How to Eliminate Calix Router Port Forwarding Not Working?
Wanna know the tips to troubleshoot the Calix Gigaspire port forwarding not working issue? You are in the right place. In this section, you will definitely be able to identify the reliable fixes to sort this issue more conveniently. Let’s have an overview of all of the tips below-mentioned-
- Check the router’s settings
- Make sure that you are using the correct protocol (TCP or UDP)
- Proper configuration of forwarding rule
- Verify the device’s internal IP address
- Cross-check the firewall settings
- Ensure to include the port number at the end of your hostname
- Double-check the public IP address
- Make sure that you are using an online port tester to test your Forwarding
- Prefer to perform the power cycle of your Calix router
- Last but not least, if none of the troubleshooting methods work, you can think about Calix router reset.
Wrapping-Up
Ultimately, after delving into the information given in this blog post, you will be capable of leveraging your knowledge level. As well as you can also learn the facts about Calix port forwarding. Once you learn the strategies to perform port forwarding on your router, you can surely connect your networking device to multiple devices available in the local area network.