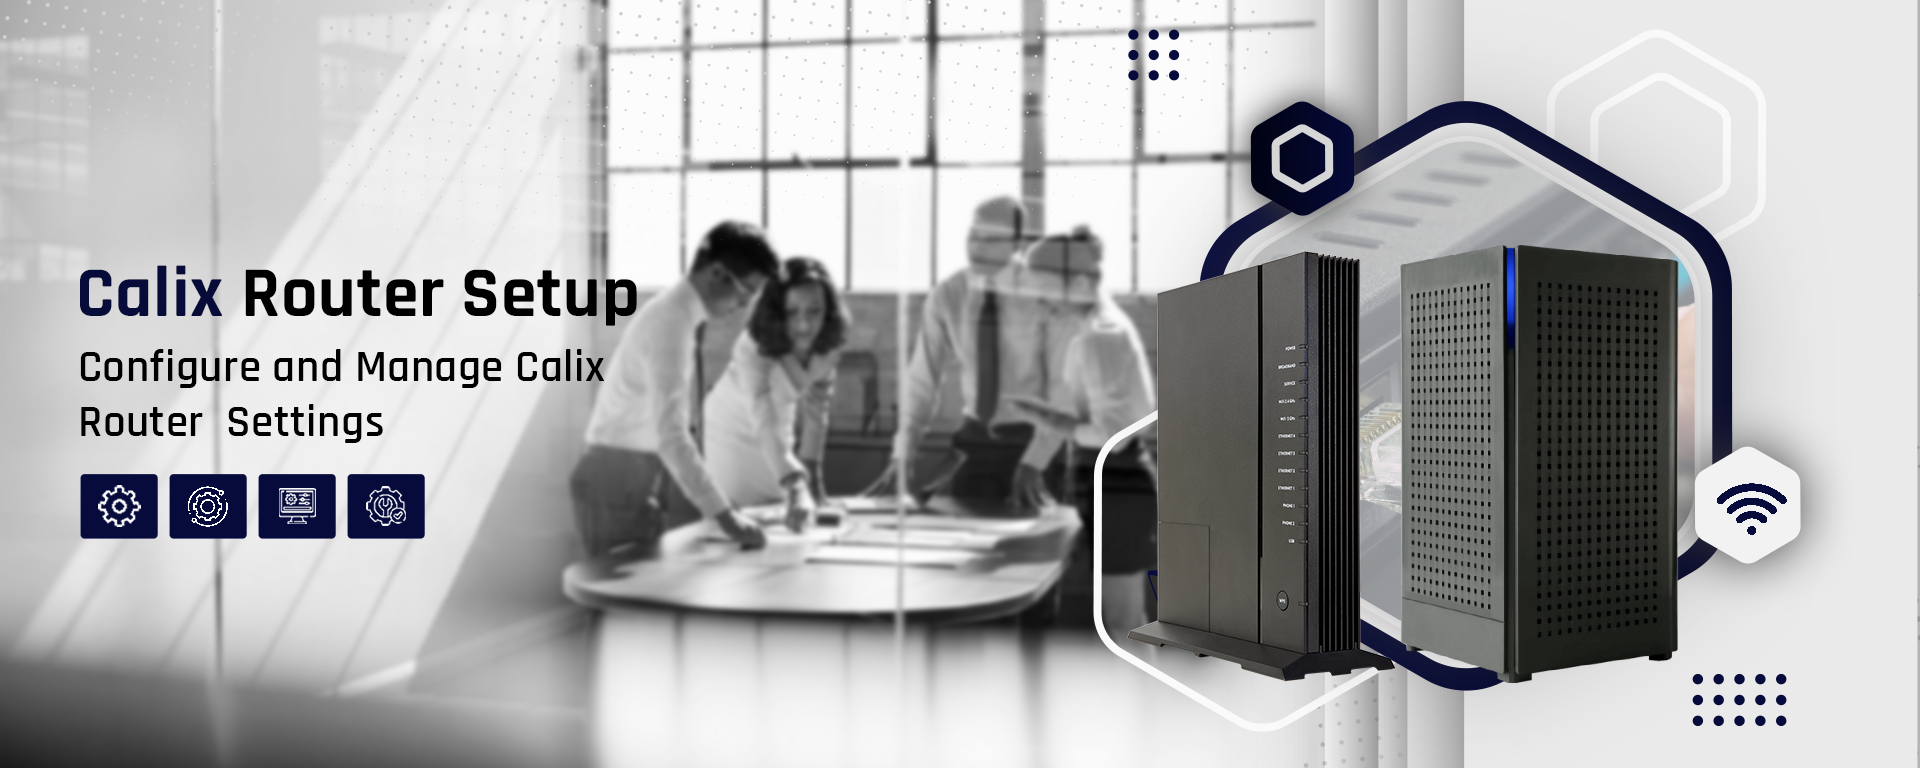
The Complete Calix Router Setup Process
Are you thinking of carrying out the Calix router setup on your own? Well, the setup process isn’t that difficult as it may seem. You set up your Calix GigaCenter router by yourself through the configuration page. Through this configuration page, you can easily access controls, and change the security protocols as per your requirements.
So if you want to perform the Calix GigaCenter router setup for a secure & tightly managed network, follow this blog carefully. It will teach you the requirements of setting up a Calix router, the setup process, and troubleshooting techniques. So, go through this complete blog post carefully and learn about the complete GigaCenter router setup process.
Calix Router Setup Process
You need to first select an appropriate place if you want to conduct a Calix GigaCenter router setup process. The place doesn’t need to be a permanent placement, and you can relocate it to the appropriate place until you are done with the setup process. To begin with, you should select an area where it’s easy to set up the router.
The first thing you need to do for Calix WiFi router setup is unpacking the hardware box. In addition, you also need to check if the hardware box has all the equipment you need. In the Calix router’s hardware box, you will get:
- Power Adaptor
- Ethernet Cable
- CAT5/CAT6 Ethernet Cable
- Router
All these items are tremendously important for you to implement the Calix GigaCenter router setup.

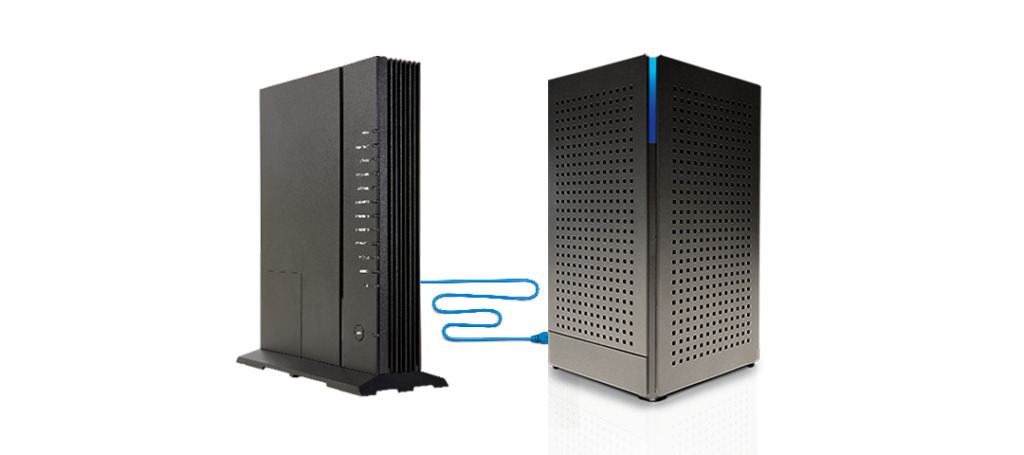
- Now you need to connect your Calix GigaCenter router with the modem (Copper Customers) or the data jack (Fiber Customers).
- You can connect your Calix GigaCenter router with the modem or the data jack using a CAT5 or CAT6 ethernet cable.
- This connection between the Router & Modem/Data Jack plays a crucial role in Calix WiFi router setup.
- After connecting your Calix GigaCenter router with the Modem/Data Jack, plug the power adaptor into a functional power outlet.
- This will allow you to supply sufficient power to the router to work correctly.

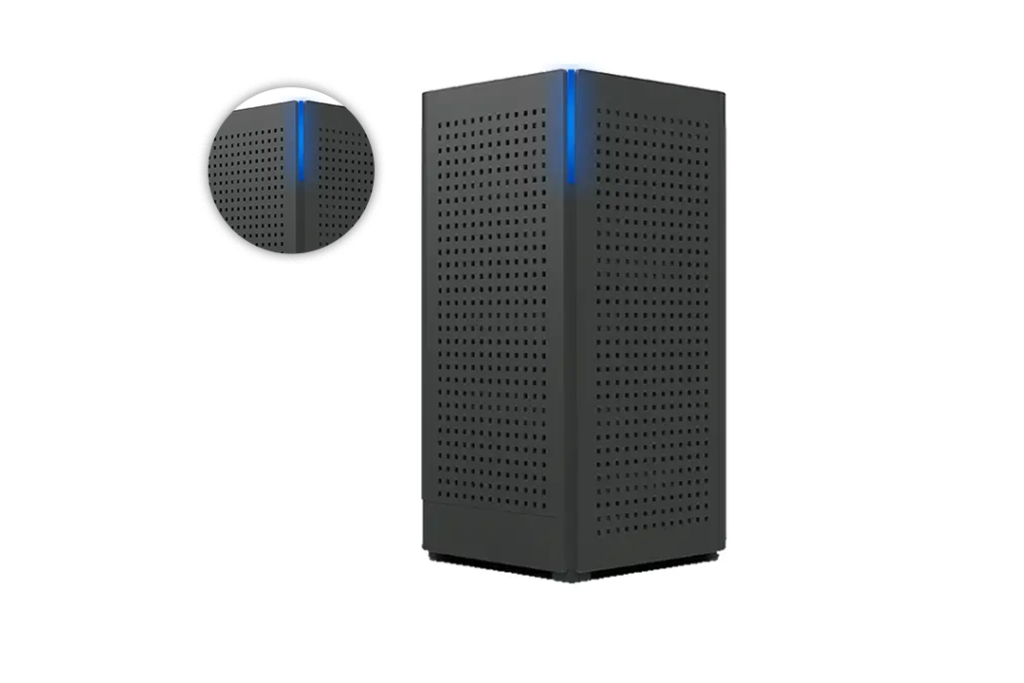
- After plugging your power adaptor into a power outlet, you need to check the On/Off LED.
- Just make sure that the power indicator is lighting up or not.
- Then wait for nearly 4 minutes for your Calix GigaCenter router to boot up.
- Moreover, the LED lights of power, service, broadband, WiFi 5GHz, WiFi 2.4GHz, and ethernet cable should turn solid green.
- The solid green light indicates that a good connection is established.
Note: If the On/Off LED doesn’t light up, try disconnecting the power adaptor with the power outlet. After plugging it out, plug the power adaptor back into the power outlet.
- Now comes the time for you to connect the Calix GigaCenter router to your computer.
- You should now see your router’s network name in the Wi-Fi settings if you’re using a wireless device.
- Click on the network name after you see it and enter in the WPA Key (Network Password) for quick access.
- Connecting your computer to the router is a crucial step in performing a Calix GigaCenter router setup.
Access the Calix Router Setup Wizard
You can gain access to Calix Router’s setup wizard easily either through the web browser, or the ComandIQ app. To learn more about how you can do it, follow the steps below in this section.
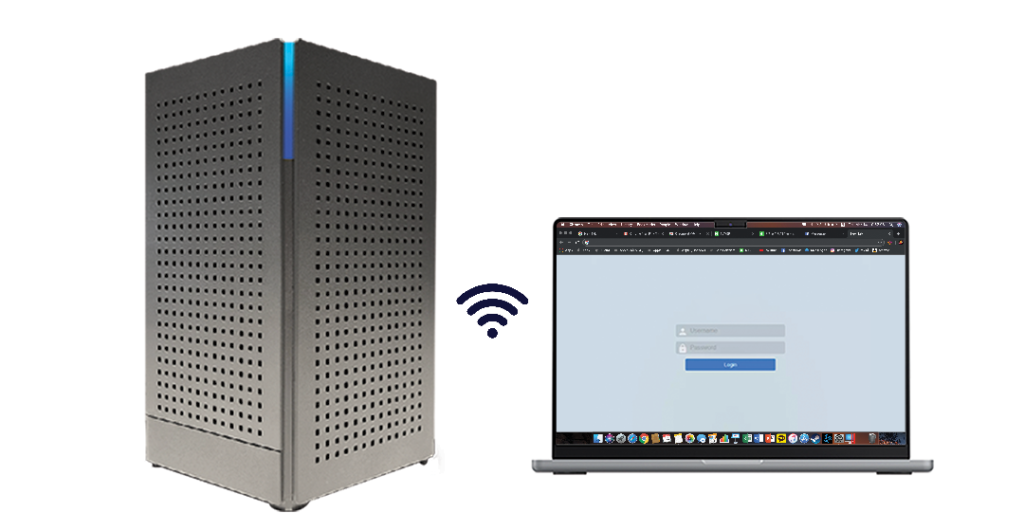
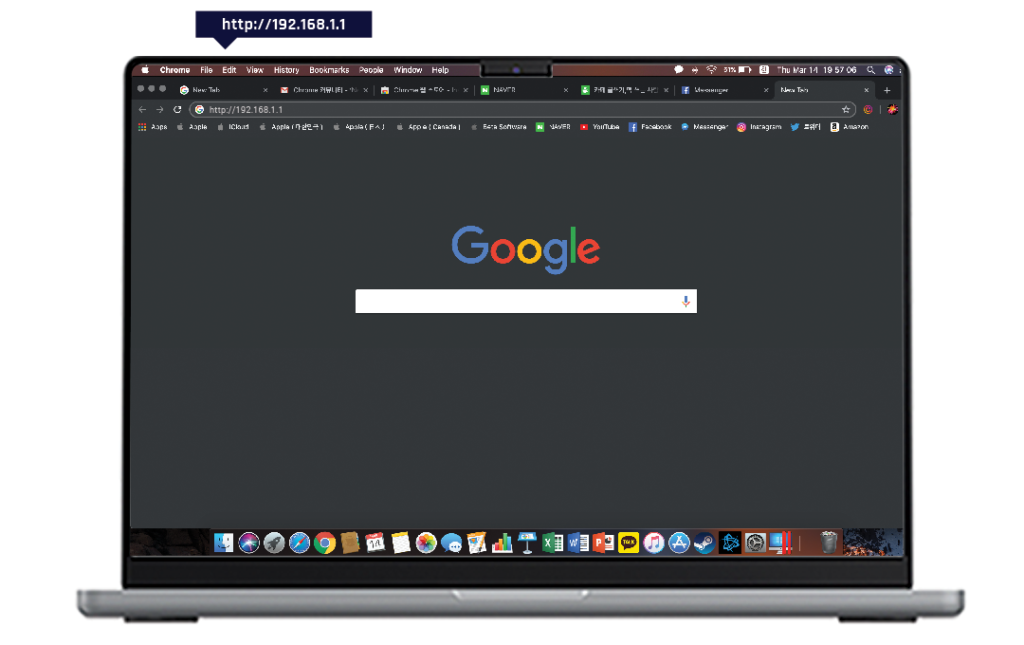
- Firstly launch a web browser after the cable is connected, and enter http://192.168.1.1 in the URL bar.
- As soon as you press the “Enter” key, a login page will open on your computer’s screen.
- On the login page, you need to enter your admin username & password. You will find the admin username & password on a silver plated, on the back side of your router.
- After typing in the admin username & password, you should click on the “Quick Start” button.
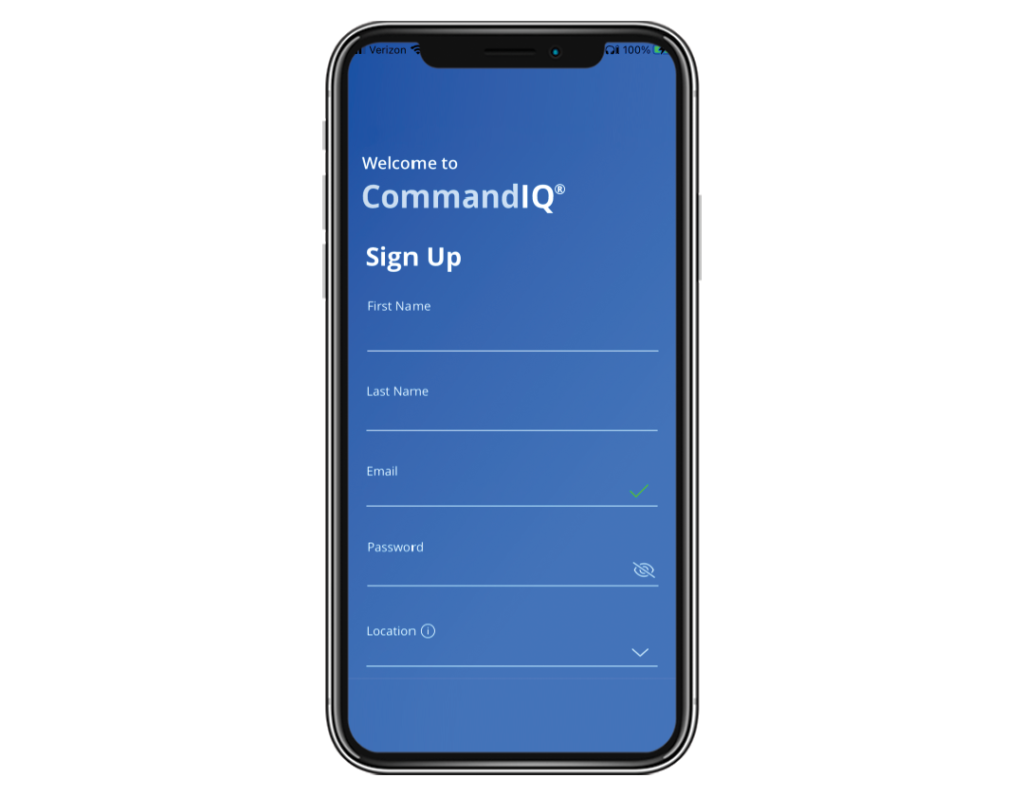
- To execute the Calix router setup using the CommandIQ App, firstly download it through the Play Store or App Store.
- Then open the CommandIQ app, and a screen will open appear where you need to tap on “Let’s Get Started”.
- If you already have an account on CommandIQ, enter the login credentials, and tap on “Login”.
- But if you don’t have an account, then tap on the “Sign Up” link to create an account and add your
- While signing up for the account, you must provide your first name, last name, and email address.
- In addition, you’ll also need to create a new password which will serve you as a username.
- Then comes the “Location” field where you will need to choose USA (US-based Systems) or CA (International Systems).
- Finally, you have to tap on the “I Accept the Terms & Conditions” checkbox.
Configure the Calix Router
- To configure your Calix router, you need to first log into the CommandIQ app and visit the profile section.
- In the profile section, you can see your Wi-Fi network name & password. You can change the credentials if you think it necessary.
- Apart from this, you can also change your network’s security settings, the number of devices that connect to the network, etc.
- After making the changes, you can save all the changed settings by clicking on “Apply”.
Use these simple methods to implement the Calix WiFi router setup and configure the network settings. It will also allow you to skip the complicated bypassing router settings and configure the router on your own.

Why Can't I Configure My Calix Router?
Are you facing issues while configuring your Calix router? Well, worry not! Go through the below points and learn the fundamental reasons that may not allow you to configure your Calix router settings.
- Your router has power issues.
- Invalid IP address or login credentials.
- Your device isn’t connected to the router.
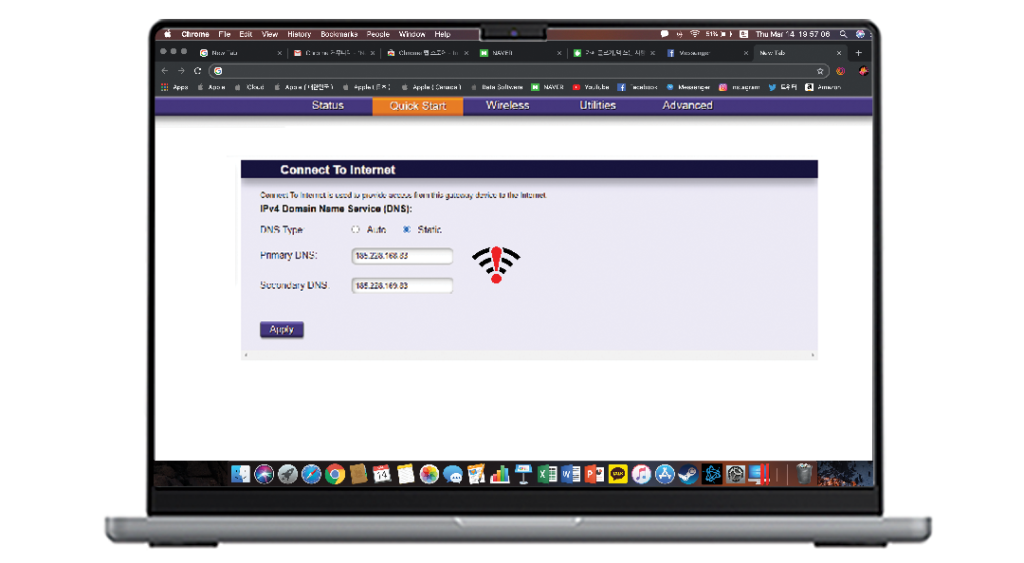
- Web browser issues
These are some core reasons why you can’t configure your Calix router. But being aware of these reasons won’t work alone. Go through the next section to acknowledge the troubleshooting methods to resolve them.
Troubleshooting Calix GigaCenter Router Setup
Now is the time for you to follow the troubleshooting methods and resolve the Calix router setup issues. Just go through the steps below and use them to resolve the setup issues
- Power cycling your Calix GigaCenter router can effectively remove minor software bugs & glitch
- You can power cycle your router by disconnecting it from the power plug.
- Then wait for a few seconds and reconnect the router with the power source.
- Entering an invalid IP address or login credentials is a common issue that anyone can encounter.
- So go through them carefully to check that you are using the right ones.
- The default IP address for Calix routers is 192.168.1.1.
- If you want to complete the Calix WiFi router setup, then you must connect your device to the Calix router only.
- You can do it by searching the network name in the device’s Wi-Fi section.
- Then you connect your device to the Calix Wi-Fi network using the Wi-Fi password.
- As soon as you log in to the Wi-Fi network, you can start the setup process.
- Now the time has come for you to eliminate the common browser issues that may not allow you to execute the Calix Router setup.
- You can eliminate them by updating your web browser and disable your firewall or ad blocker.
- Apart from this, you may also need to clear your browser’s cache & cookies.
- But if you still can’t set up the Calix router on your device, try using another web browser.
- It should allow you to fix the router setup issues.
With the hope that you find the solution to your issue in this section, let’s bring it to an end. Adopt the above troubleshooting techniques to resolve the issues you may face while setting up the Calix router on your device.
Conclusion
The above blog post explains the complete Calix WiFi router setup process and the problems that you may face while doing it. In addition to this, it also enlists the troubleshooting methods that you can follow to deal with these problems. You can follow these troubleshooting methods to free yourself from all sorts of Calix router setup issues.
But if you think that you are still unable to handle such issues, feel free to connect with our technical team. They have years of experience & expertise to handle such situations. As a result, they guide you to set up the Calix router and remove any issue that you may encounter.